This documentation will drive you through the process of installing and using a workflow for automating the lifecycle of a VNF on AWS public cloud infrastructure.
Overview
This example is simple enough to be installed and used in a lab environment without too much configuration, but complex enough to show how the MSactivator™ can be used for such a thing as VNF orchestration automation in a public cloud.
We are going to illustrate this use case with a simple Linux based VNF available from the AWS community marketplace.
About source code
The source code for the workflows and microservices referenced, is freely available in the OpenMSA github repository:
-
Public cloud AWS workflow: https://github.com/openmsa/Workflows/tree/master/Public_Cloud/AWS/Instance_Management
-
AWS microservices: https://github.com/openmsa/Microservices/tree/master/AWS/Generic
-
Linux microservices: https://github.com/openmsa/Microservices/tree/master/LINUX
Prerequisites
Learn the basics on MSactivator™
If you haven’t done so already, we strongly advise that you got through the MSactivator™ Manager Guide to learn about managed entities, microservices, deployment settings and workflows.
AWS account
To be able to run this demo, you need to have an AWS account with sufficient privileges to create some IAM user and policy.
AWS IAM configuration
The demo uses microservices, adapter and workflows to automate the orchestration of the VNF on AWS. They rely on the AWS API to execute and will require an authentication.
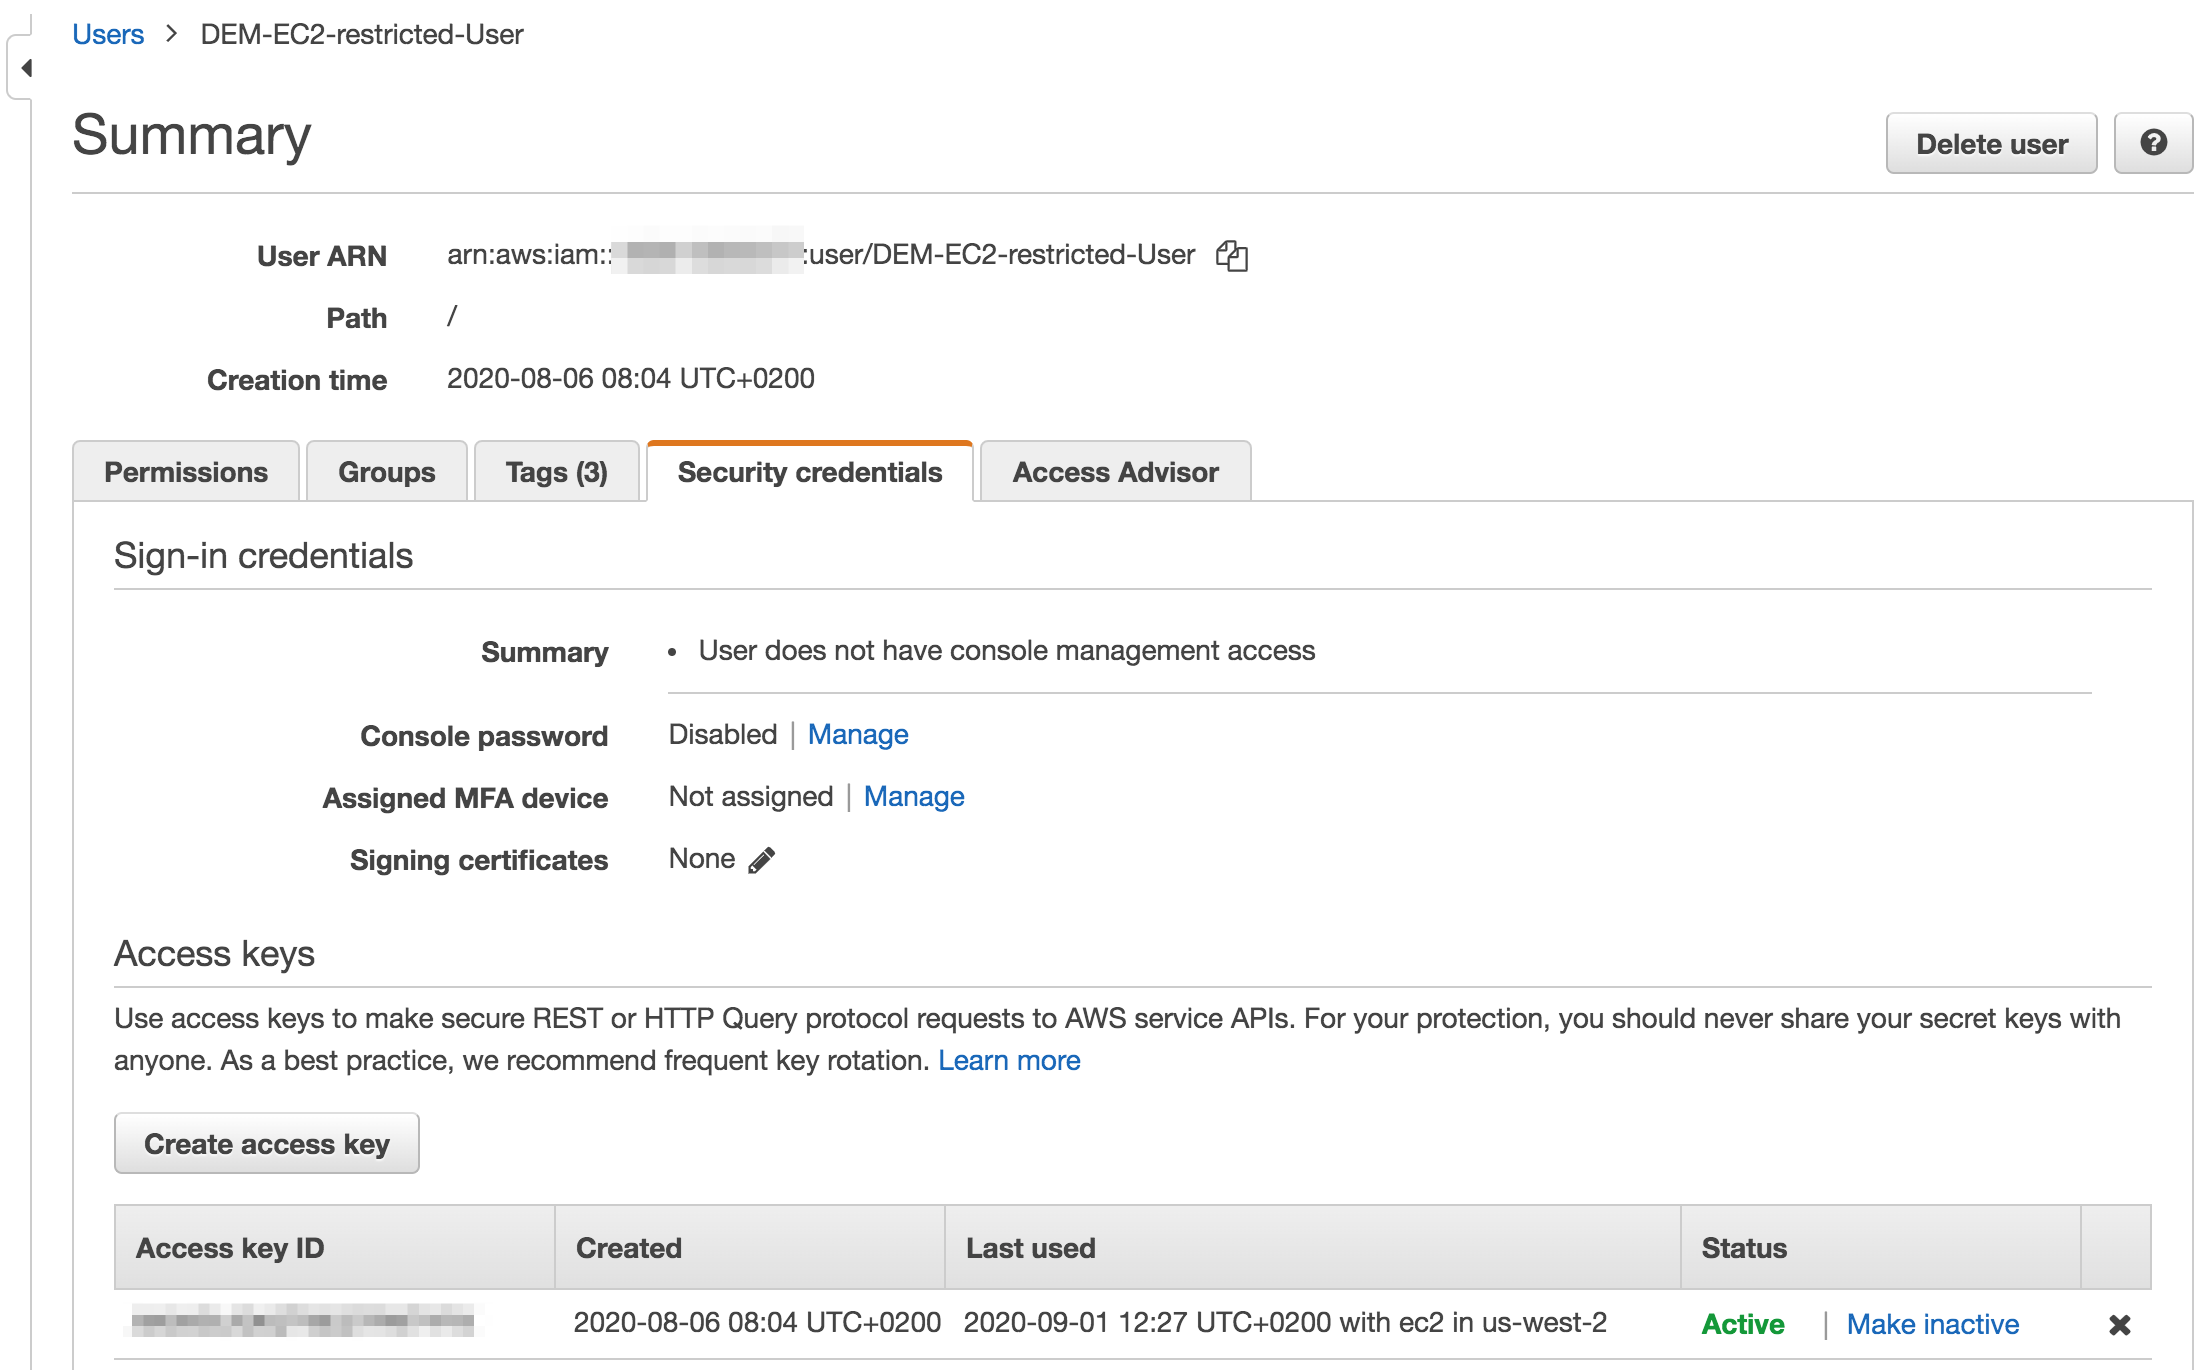
To run this demo use case, you need to make sure that you have an AWS IAM (Identity and Access Management) user with an access key. The access key will be used when creating the AWS managed entity (see below)
IAM policy
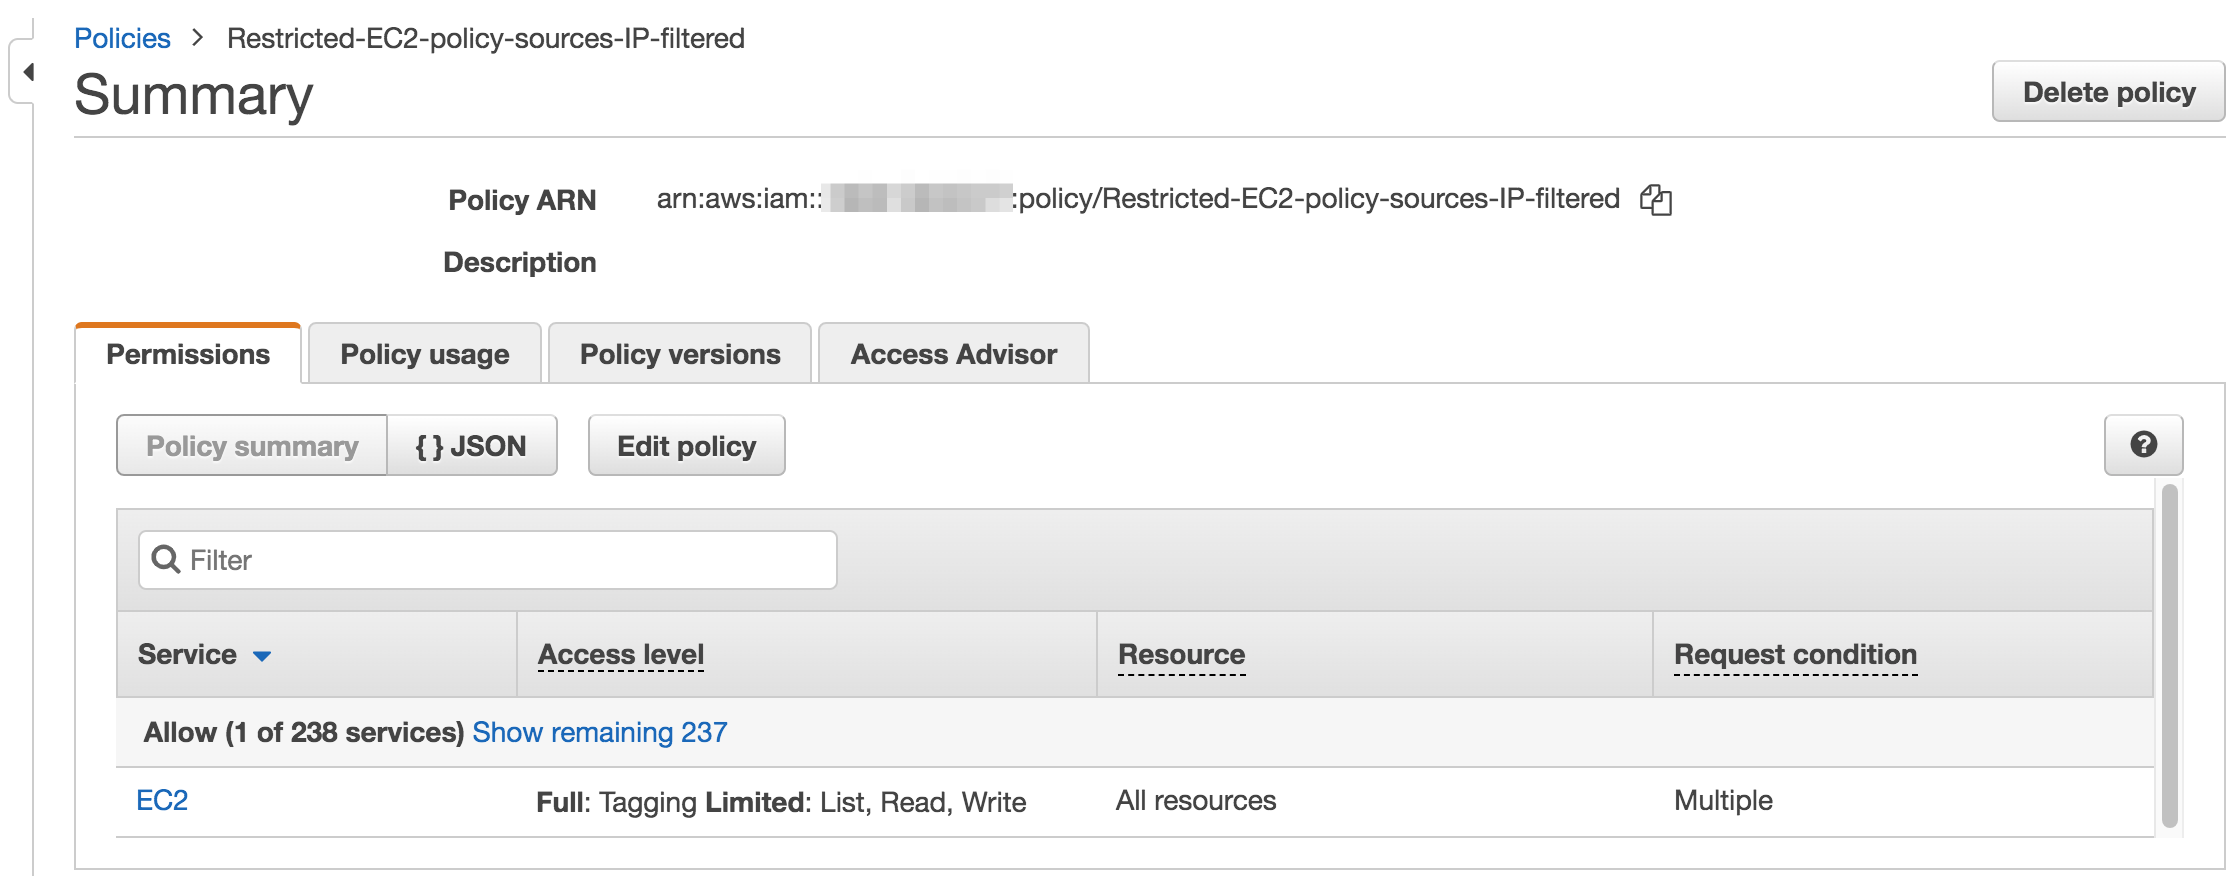
The use should be granted with a policy that allows enough privileges to manage EC2 and VPC programmatically. If you can, the easiest way to acheive this is to allow all EC2 and VPC actions.
If this is not possible then here is the list of actions to be allowed to use the workflow and the microservices available on github.com/openmsa
-
DescribeNetworkInterfaces
-
AttachNetworkInterface
-
CreateNetworkInterface
-
DeleteNetworkInterface
-
DescribeInstances
-
TerminateInstances
-
DescribeSecurityGroups
-
CreateSecurityGroup
-
DeleteSecurityGroup
-
DescribeAddresses
-
DescribeSubnets
-
DescribeVpcs
-
CreateVpc
-
DeleteVpc
-
RunInstances
-
RebootInstances
-
WaitUntilInstanceRunning
-
StartInstances
-
StopInstances
-
CreateTags
| if you extend the workflow or the microservices to provide a larger functional coverage, you may have to update the policy for accessing the AWS SDK. |
IAM user
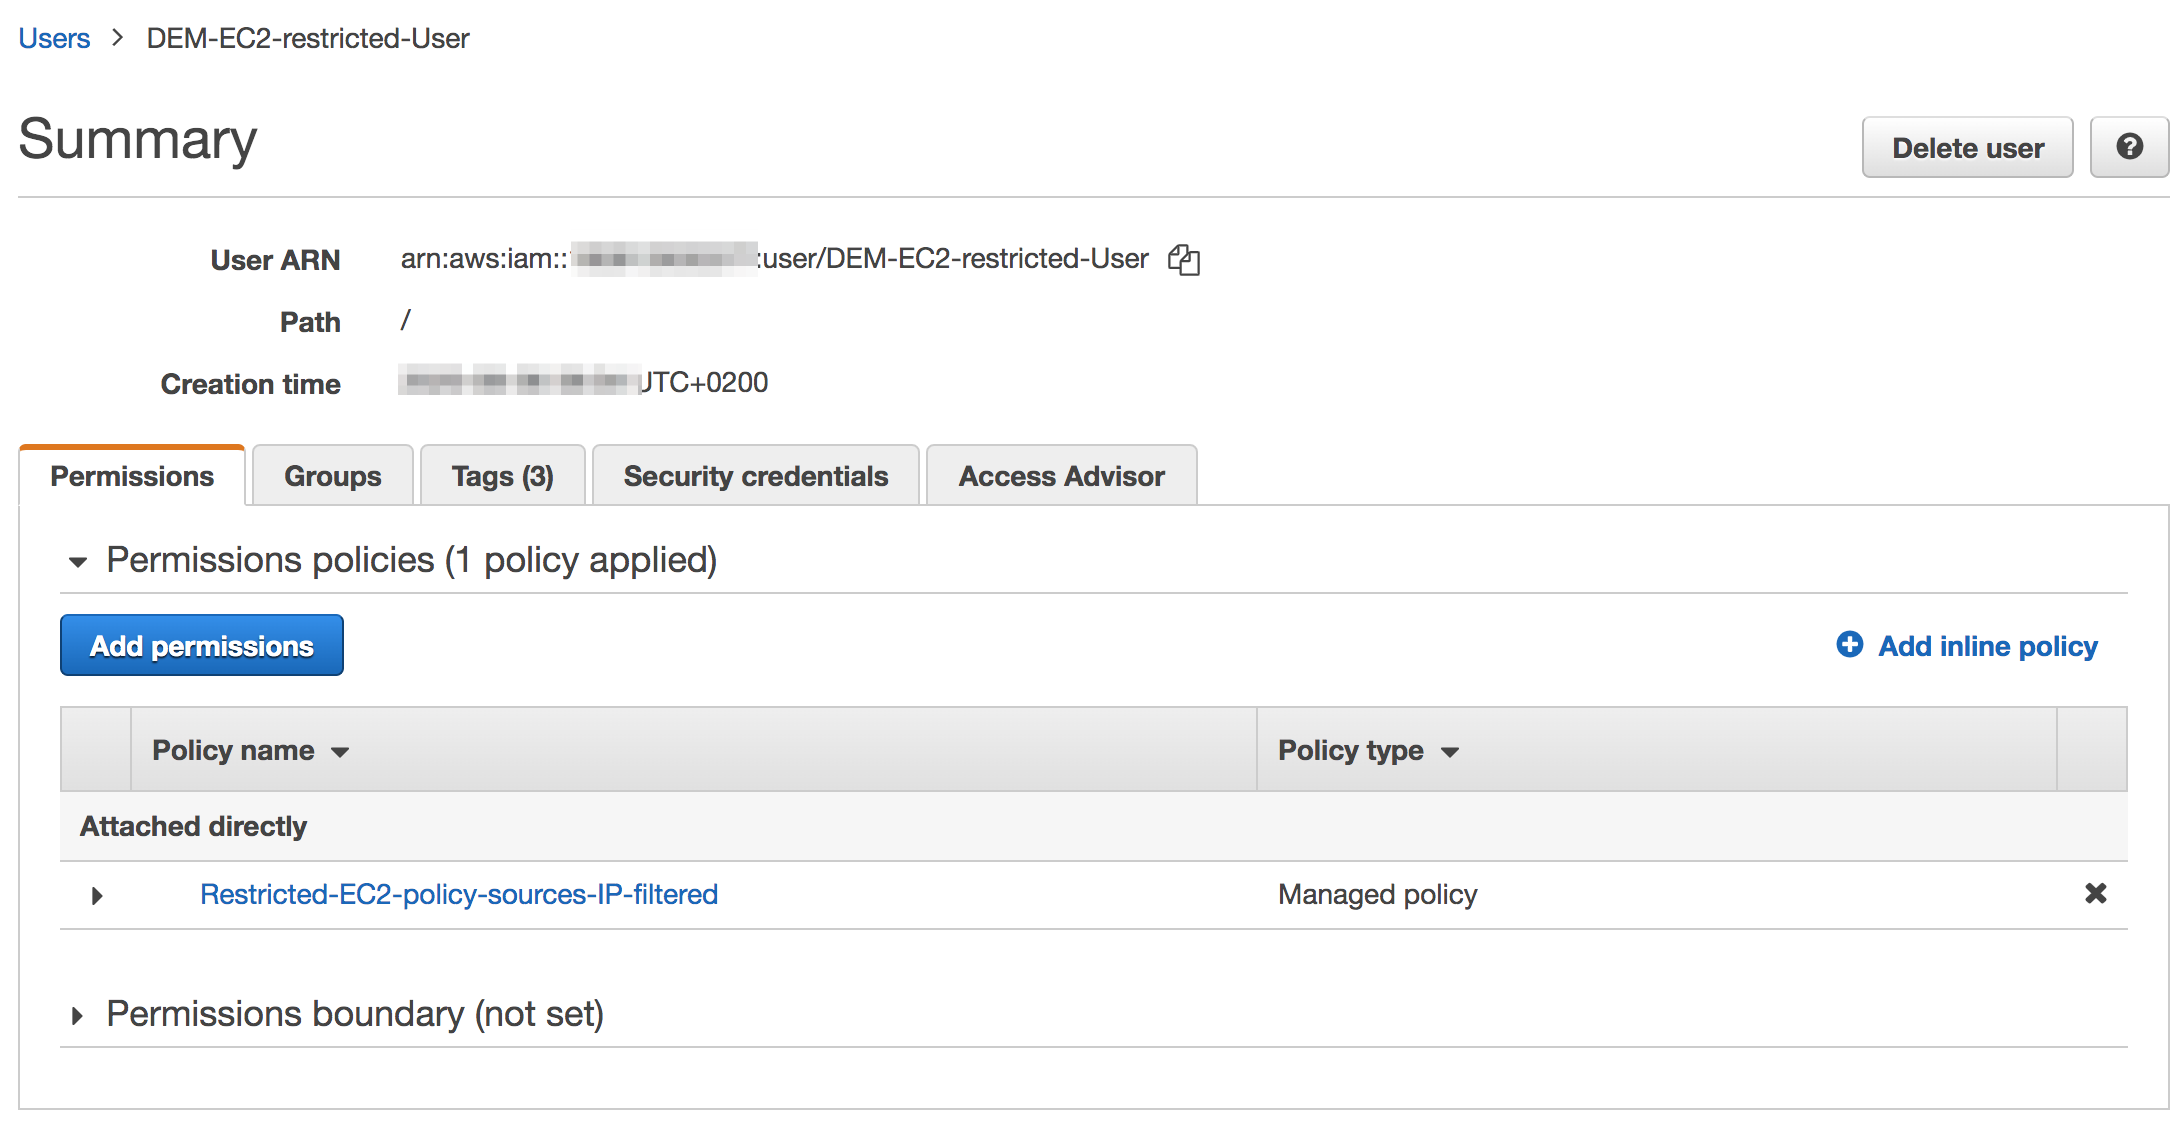
Create a user and attach the policy to this user
You will also need an access key for this user in order to make secure REST API call from the MSactivator™
Create a managed entity for an AWS region
The VNF automation workflow for AWS uses both microservices and direct AWS API calls to implement the VNF orchestration. In both cases, the AWS user credentials (the access key created up above) are required. These credentials are provided at the AWS managed entity creation form in the username and user password fields.
When creating the AWS managed entity, make sure that you select AWS / Generic for the Vendor / Model.
The AWS managed entity is also used to define the region where the VNF will run. The region information is set at the managed entity creation form, in the hostname field. The region should be the one set in the AWS console URL.
The last information for managing an AWS region with the {$product_name} is the management IP address. The management IP address can be found by taking the hostname from the AWS console URL from your browser.
Example:
with the AWS console URL https://eu-west-2.console.aws.amazon.com/ec2/v2/home?region=eu-west-2 the region is eu-west-2 and the IP address is 52.94.48.109
$ ping eu-west-2.console.aws.amazon.com
PING console.eu-west-2.amazonaws.com (52.94.48.109): 56 data bytes
64 bytes from 52.94.48.109: icmp_seq=0 ttl=236 time=20.272 ms
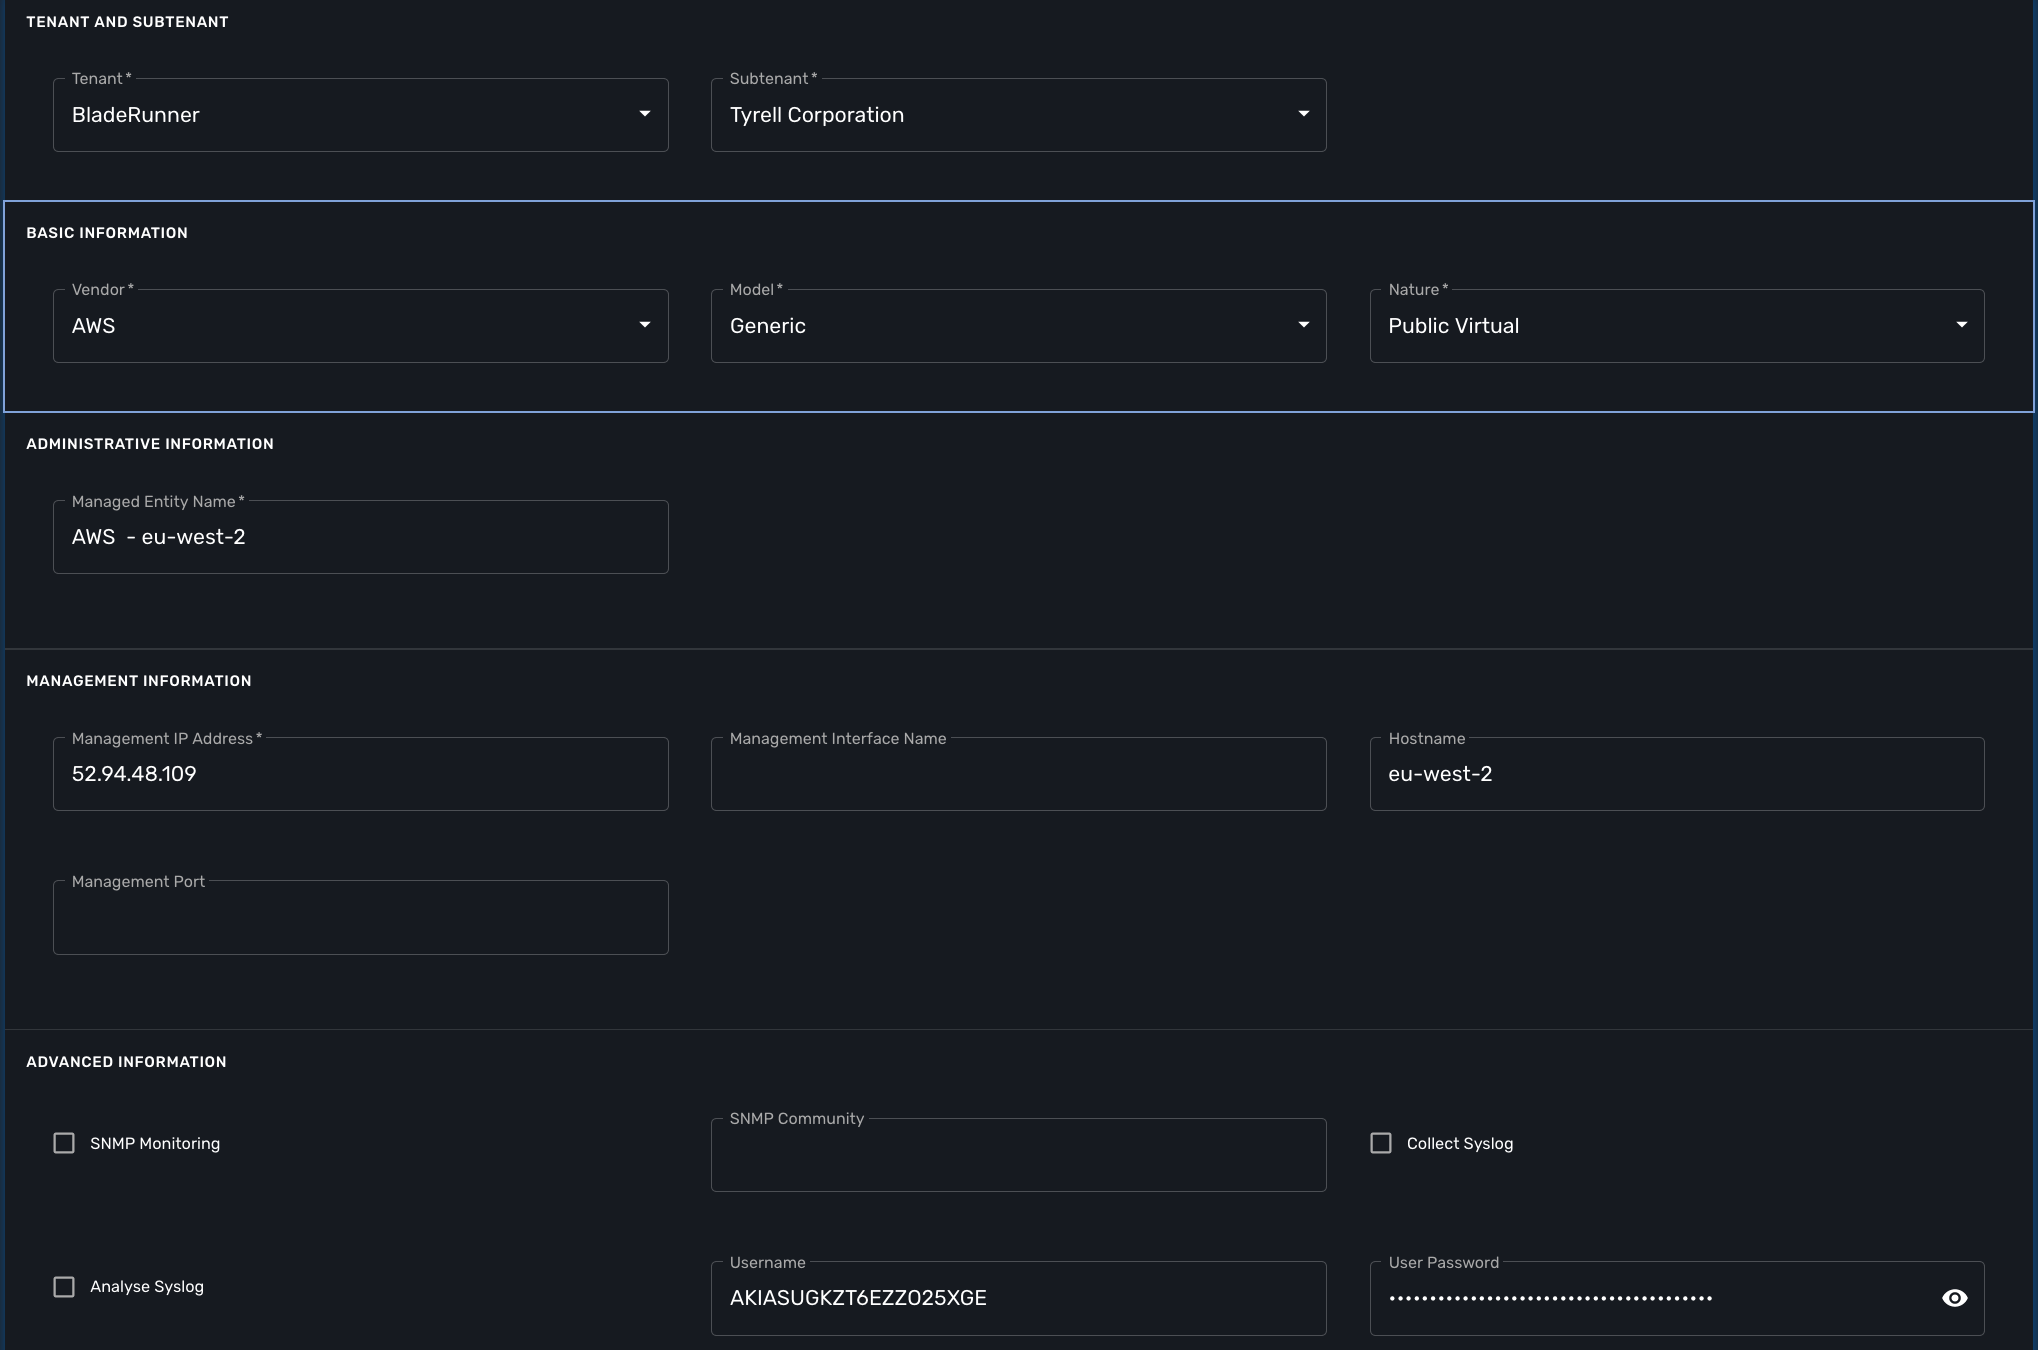
Create and activate the managed entity.
The activation, implemented by the AWS Generic adapter will try to call some REST API during its process.
A successful activation ensures that the information provided during the creation of the managed entity is correct and that the credentials are valid by calling 2 API: DescribeInstances and DescribeVpcs:
public function do_connect()
  {
    $network = get_network_profile();
    $sd = &$network->SD;
    $this->key = $this->sd_login_entry;
    $this->secret = $this->sd_passwd_entry;
    $this->region = $sd->SD_HOSTNAME;

    $cmd = "Aws\Ec2\Ec2Client#describeInstances#{ \"MaxResults\" : 5 }";  (1)
    $result = $this->sendexpectone(__FILE__ . ':' . __LINE__, $cmd, "");

    $cmd = "Aws\Ec2\Ec2Client#describeVpcs#";                             (2)
$result = $this->sendexpectone(__FILE__ . ':' . __LINE__, $cmd, "");| 1 | ensures that the managed entity has enough privileges to list EC2 configurations |
| 2 | ensures that the managed entity has enough privileges to list VPC configurations |
| the activation phase will not check that the AWS user is authorized for every AWS API needed for the orchestration (see list above). |
Create a deployment setting to use microservices
Create a new deployment setting in your current subtenant, set the vendor to AWS and select the microservices below:
-
Instances
-
Network Interfaces
-
Security Groups
-
Subnet
-
VPC
These microservices are installed as part of the quickstart guide.
Add your managed entity to the deployment setting and verify that you can use the microservices by browsing to the managed entity page and selecting the tab "Configure".
Use the action "Synchronize with Managed Entity" to import the AWS "config". On a new, blank AWS region, you should at least see the default VPC.
| if the synchronization seems to have no effect, you can try to activate the managed entity once more and run the synchronization again. |
The VNF orchestration automation workflow.
At this stage you have a managed entity with a selected vendor and a deployment setting with the microservices required for the workflow.
The workflow is provided as part of the quickstart setup and is available in the UI, under "Automation > Workflows", as "Public Cloud VNF Management". To use it, if you haven’t done so, you need to add it to a subtenant first.
Overview of the workflow
The workflow will provide the processes to start a new instance on AWS, create the managed entity for this instance and provide the microservices to do some simple firewall policy management.
In this guide, we are going to use a Linux based (CentOS 7) instance available in the AWS community AMI.
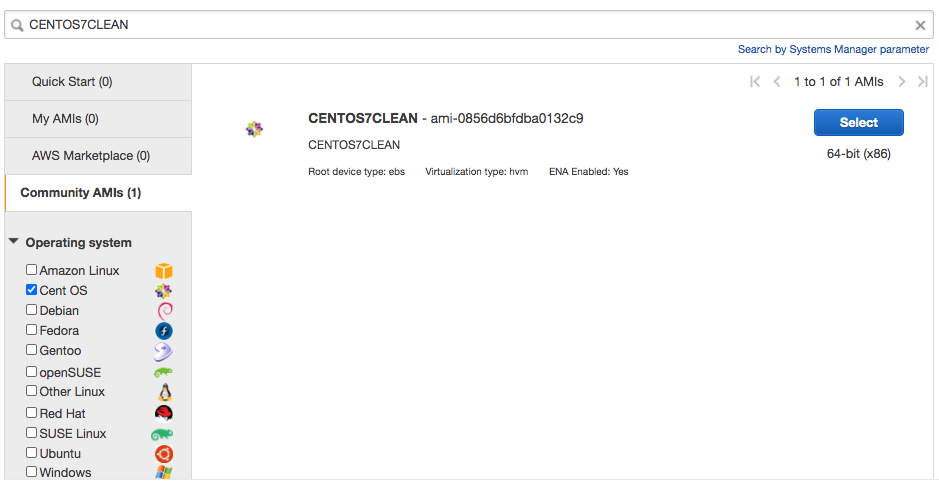
| the AMI id will depend on the region you are working with. |
The microservices for managing policies on Linux are installed from Github in you mini lab during the setup of the quickstart.
The Workflow has 3 main processes:
New service
This process will ask the user to select an AWS managed entity, this is the way to select the region where the VNF will be created and to pass the AWS credentials to the workflow.
The execution of this process will trigger a microservice based synchronization and will populate the workflow variables typed Microservice Reference with the actual values from the AWS region (ex: the list of subnets or security groups)
Launch Instance
This process will ask the user to select data such as the AMI image ID, the subnet, the security group to use for the VM instantiation… then it will automatically launch the AWS instance, create and activate a new managed entity with a set of microservices.
The result is a ready-to-use managed entity for firewall management with a Linux
Setup a deployment setting for Linux firewall management
During the deployment of the VNF, the workflow will create a managed entity on the {$product_name}, activate it and (optionally) attach it to a deployment setting with some microservices.
For that to work, you have to create a new deployment setting with the microservices you want to use with the Linux.
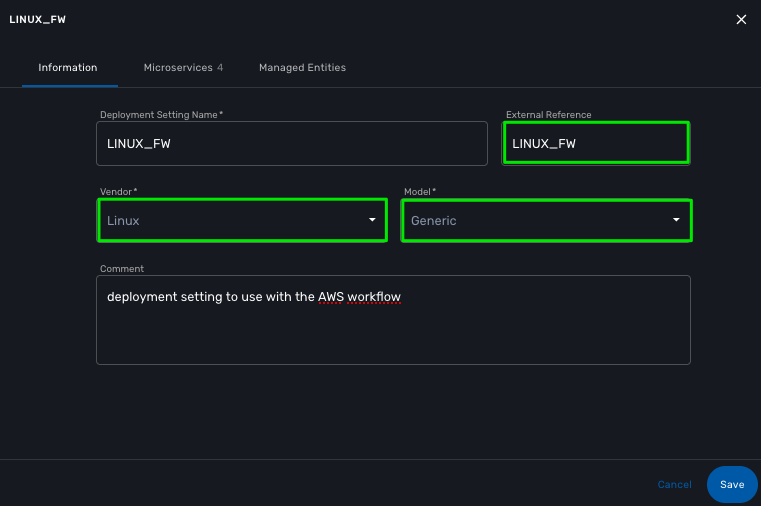
When you create the deployment setting, make sure that you select Linux for the vendor and that you set the external reference to LINUX_FW.
|
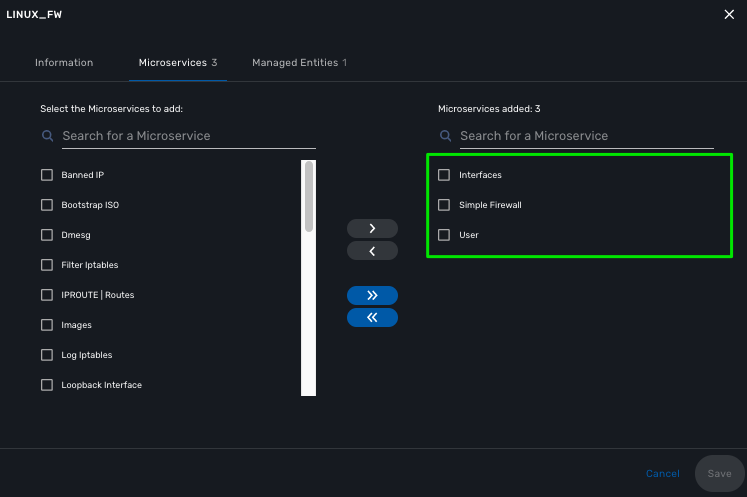
Then attach the following microservices:
-
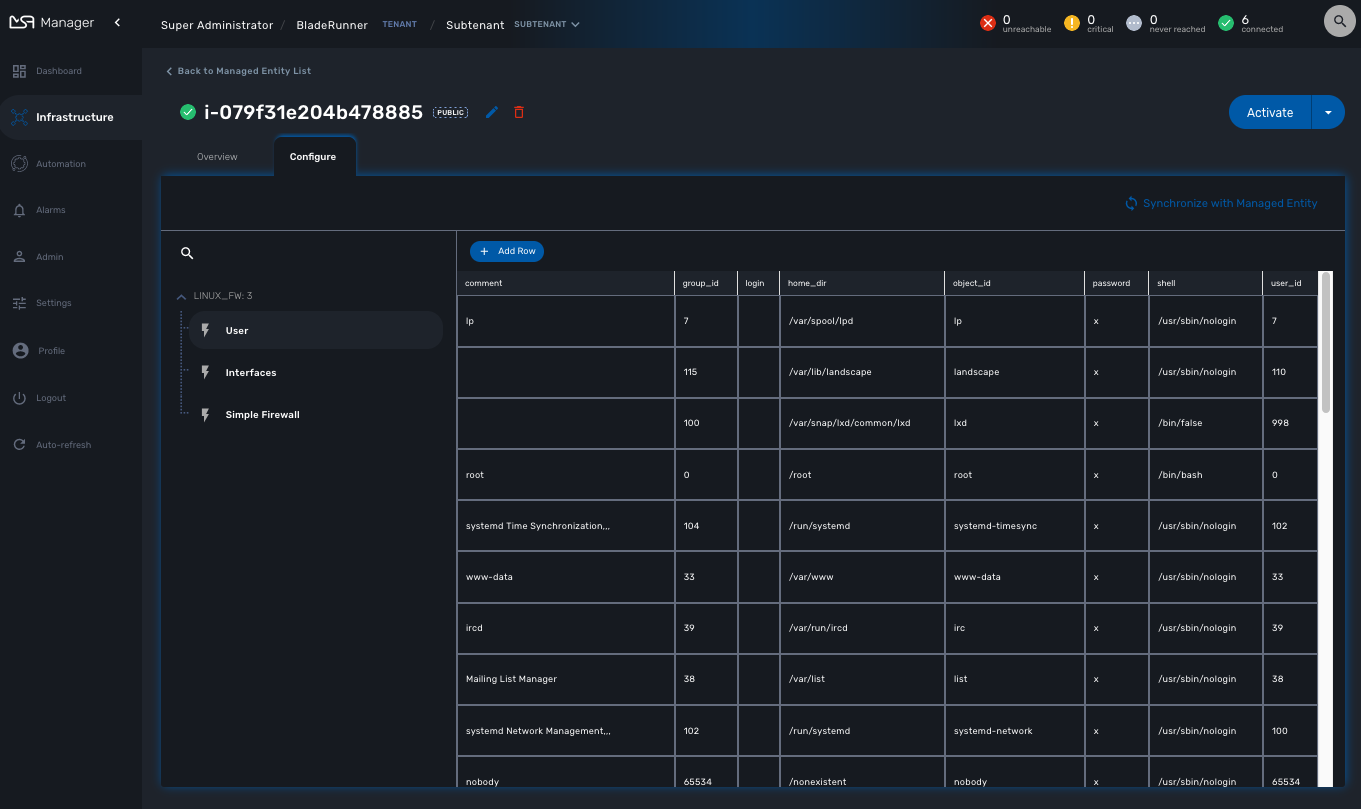
User: list the Linux user.
-
Interfaces: list the network interfaces.
-
Simple Firewall: do some security policy configuration. Iptables have to be installed on the VM.
Use the workflow
Unselect any selected subtenant from the list of subtenant at the top of the screen and browse to "Automation > Workflows".
Search for "Public Cloud VNF Management" and add it to a subtenant of your choice.
Select the subtenant from the list at the top of the screen and from "Automation > Workflows", click on the workflow "Public Cloud VNF Management".
New Service
First you need execute the process New Service to select an AWS region where to create the AWS instance and to create a new workflow instance.
You can do that by clicking on the button "+ New Service" on the top right of the screen.
On the user form, select the AWS region from the dropdown list and click "Run"
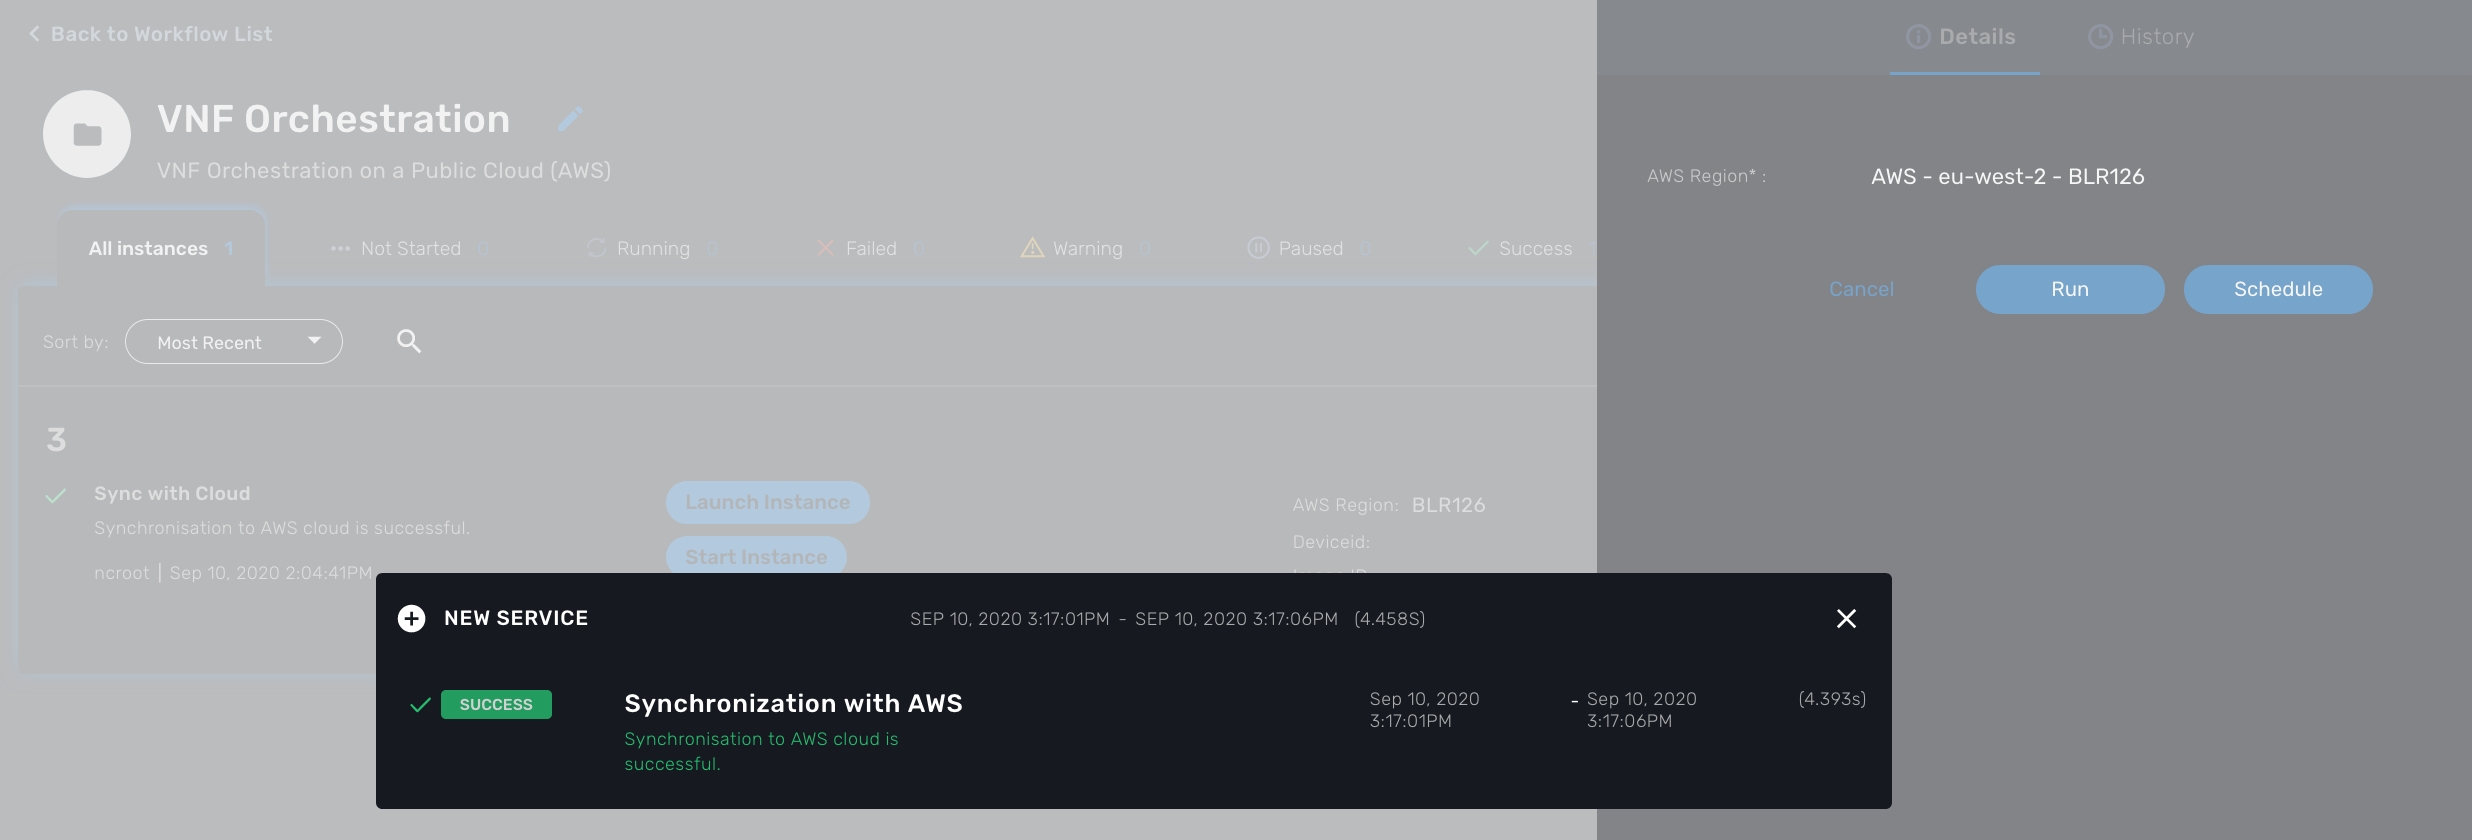 , this will create a new instance of the workflow with a set of actions available.
Launch Instance
Click on Launch Instance.
This will open a user form where you will be able to configure the AWS instance:
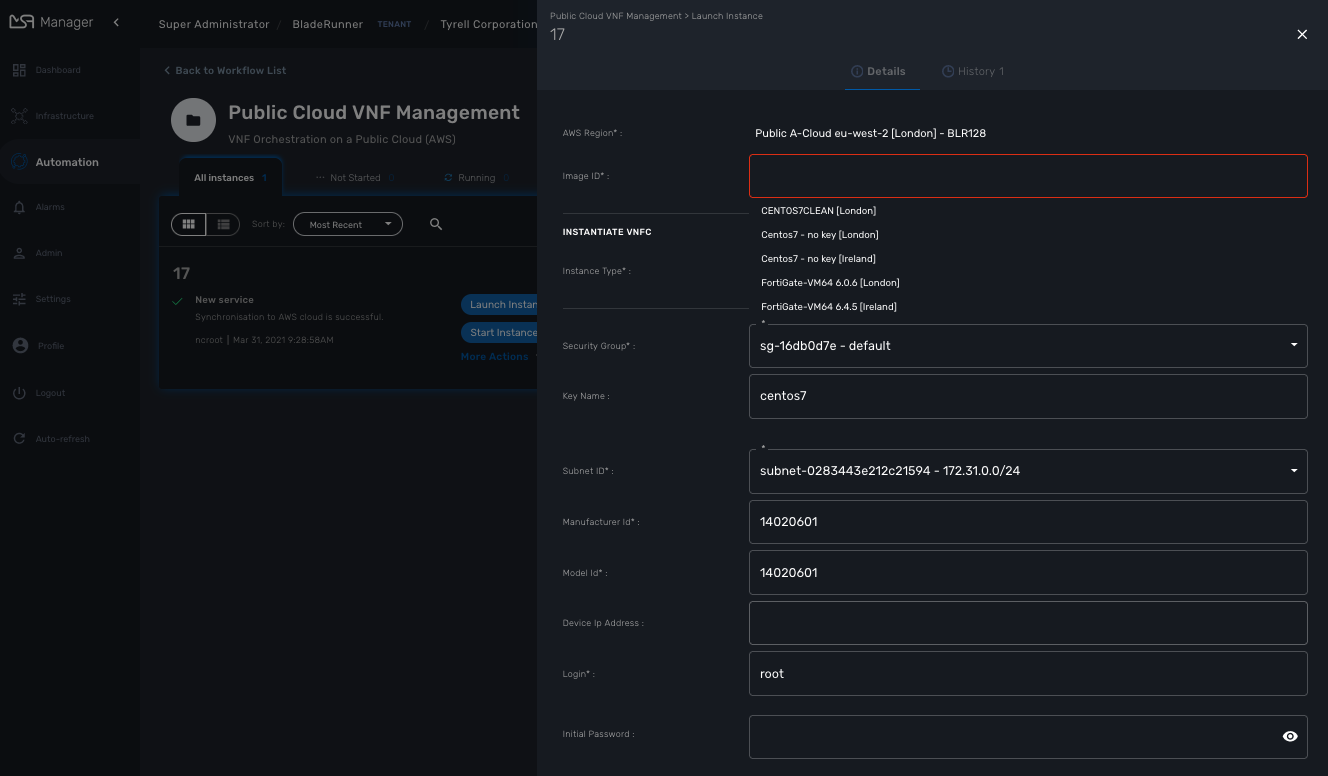
Some fields will require a value to be set:
Image ID:
The workflow provides a list of predefined AMI. You can use them or you can browse the AWS AMIs and select the AMI you want to deploy.
| the AMI ID depends on the selected AWS region, therefore you need to make sure that your AWS managed entity matches that region. |

Instance Type:
This is where you select the CPU/Memory/Storage combination for your instance. You can try with one of the type listed but you can also use another one as long as it’s supported by the AMI and the region.

Security Group and Subnet ID
These 2 variables are typed as Microservice Reference, they will provide a list of values to choose from.
These lists are populated by the corresponding microservices associated to the AWS managed entity.
This ensures that the values the user chooses are correct and up to date for the selected AWS region.
| you still need to make sure that the security group and the subnet are part of the same VPC otherwise the creation of the instance will fail due to connectivity issues. |
Key name
Most of the AWS AMI require a key pair to connect to the instance with SSH. The key pairs are managed in EC2.
Set this field with the name of your key pair.
| If you need to use a key pair for deploying the AWS instance, you first need to create the key pair on EC2 and install the key file on the msa_sms container. |
Follow this guide for the key installation.
Login
-
centosfor a CentOS 7 AMI. -
fedorafor a Fedora AMI. -
ubuntufor a Ubuntu AMI. -
…
New Password
This is an optional field that can required when deploying an AMI that requires a password change at first login.
The process will assign a new password to the VNF, make sure that the new password is compatible with the VNF vendor policy.
Subtenant Id
Select the subtenant where the managed entity will be created.
Manufacturer and Model ID
Use 14020601 / 14020601 to create a managed entity with the vendor Linux Generic. This managed entity will use the adapter from github.
if you want to deploy other vendor, you’ll need to use the manufacturer and model ID that identify the adapter. These values can be found in the adapter configuration file device.properties.
|
Deployment Setting Reference
Set the value to the deployment setting that you have prepared with the Linux microservices. This field is optional, if you leave it empty, the managed entity will not have the microservice associated but this is something that can be done manually later.
Run
When all parameters are set, click Run to execute the process
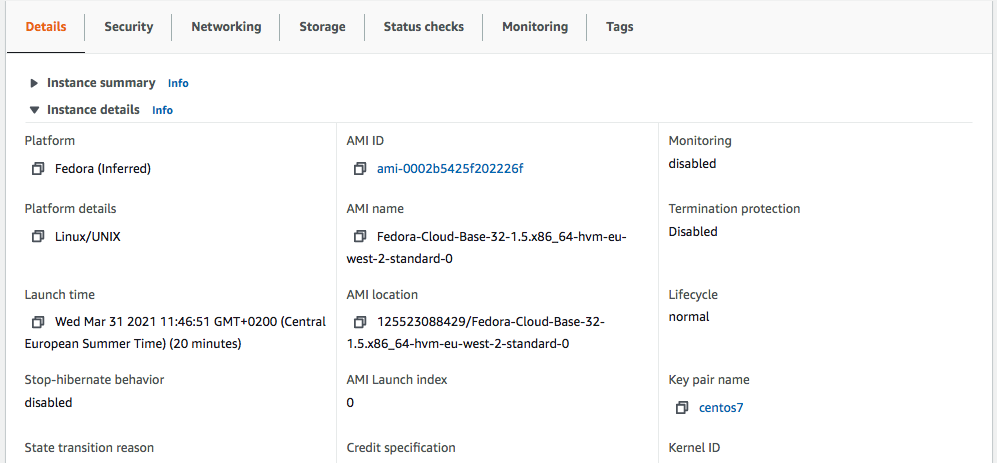
On the AWS EC2 console you can see the instance initializing.
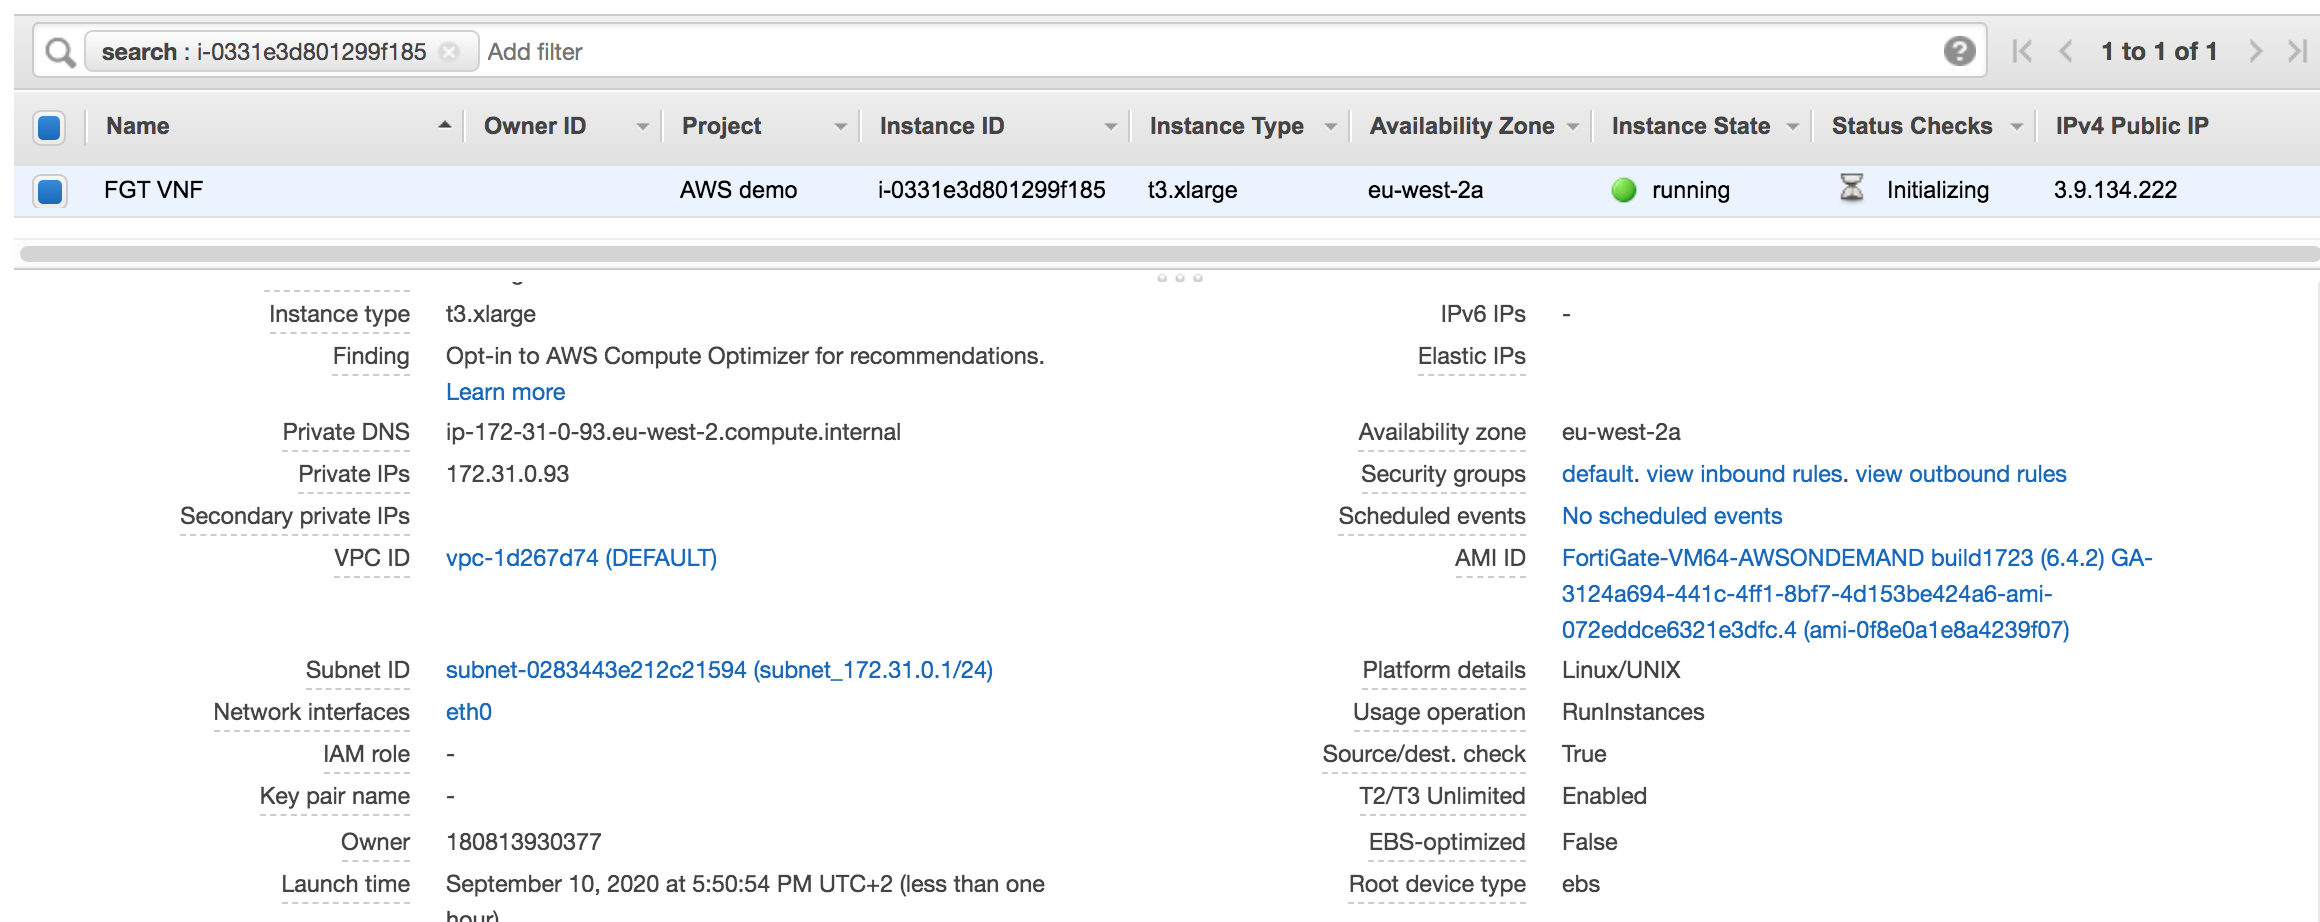
While on the workflow console you can see the process executing its task one after the other
It takes around 5 minutes to finish
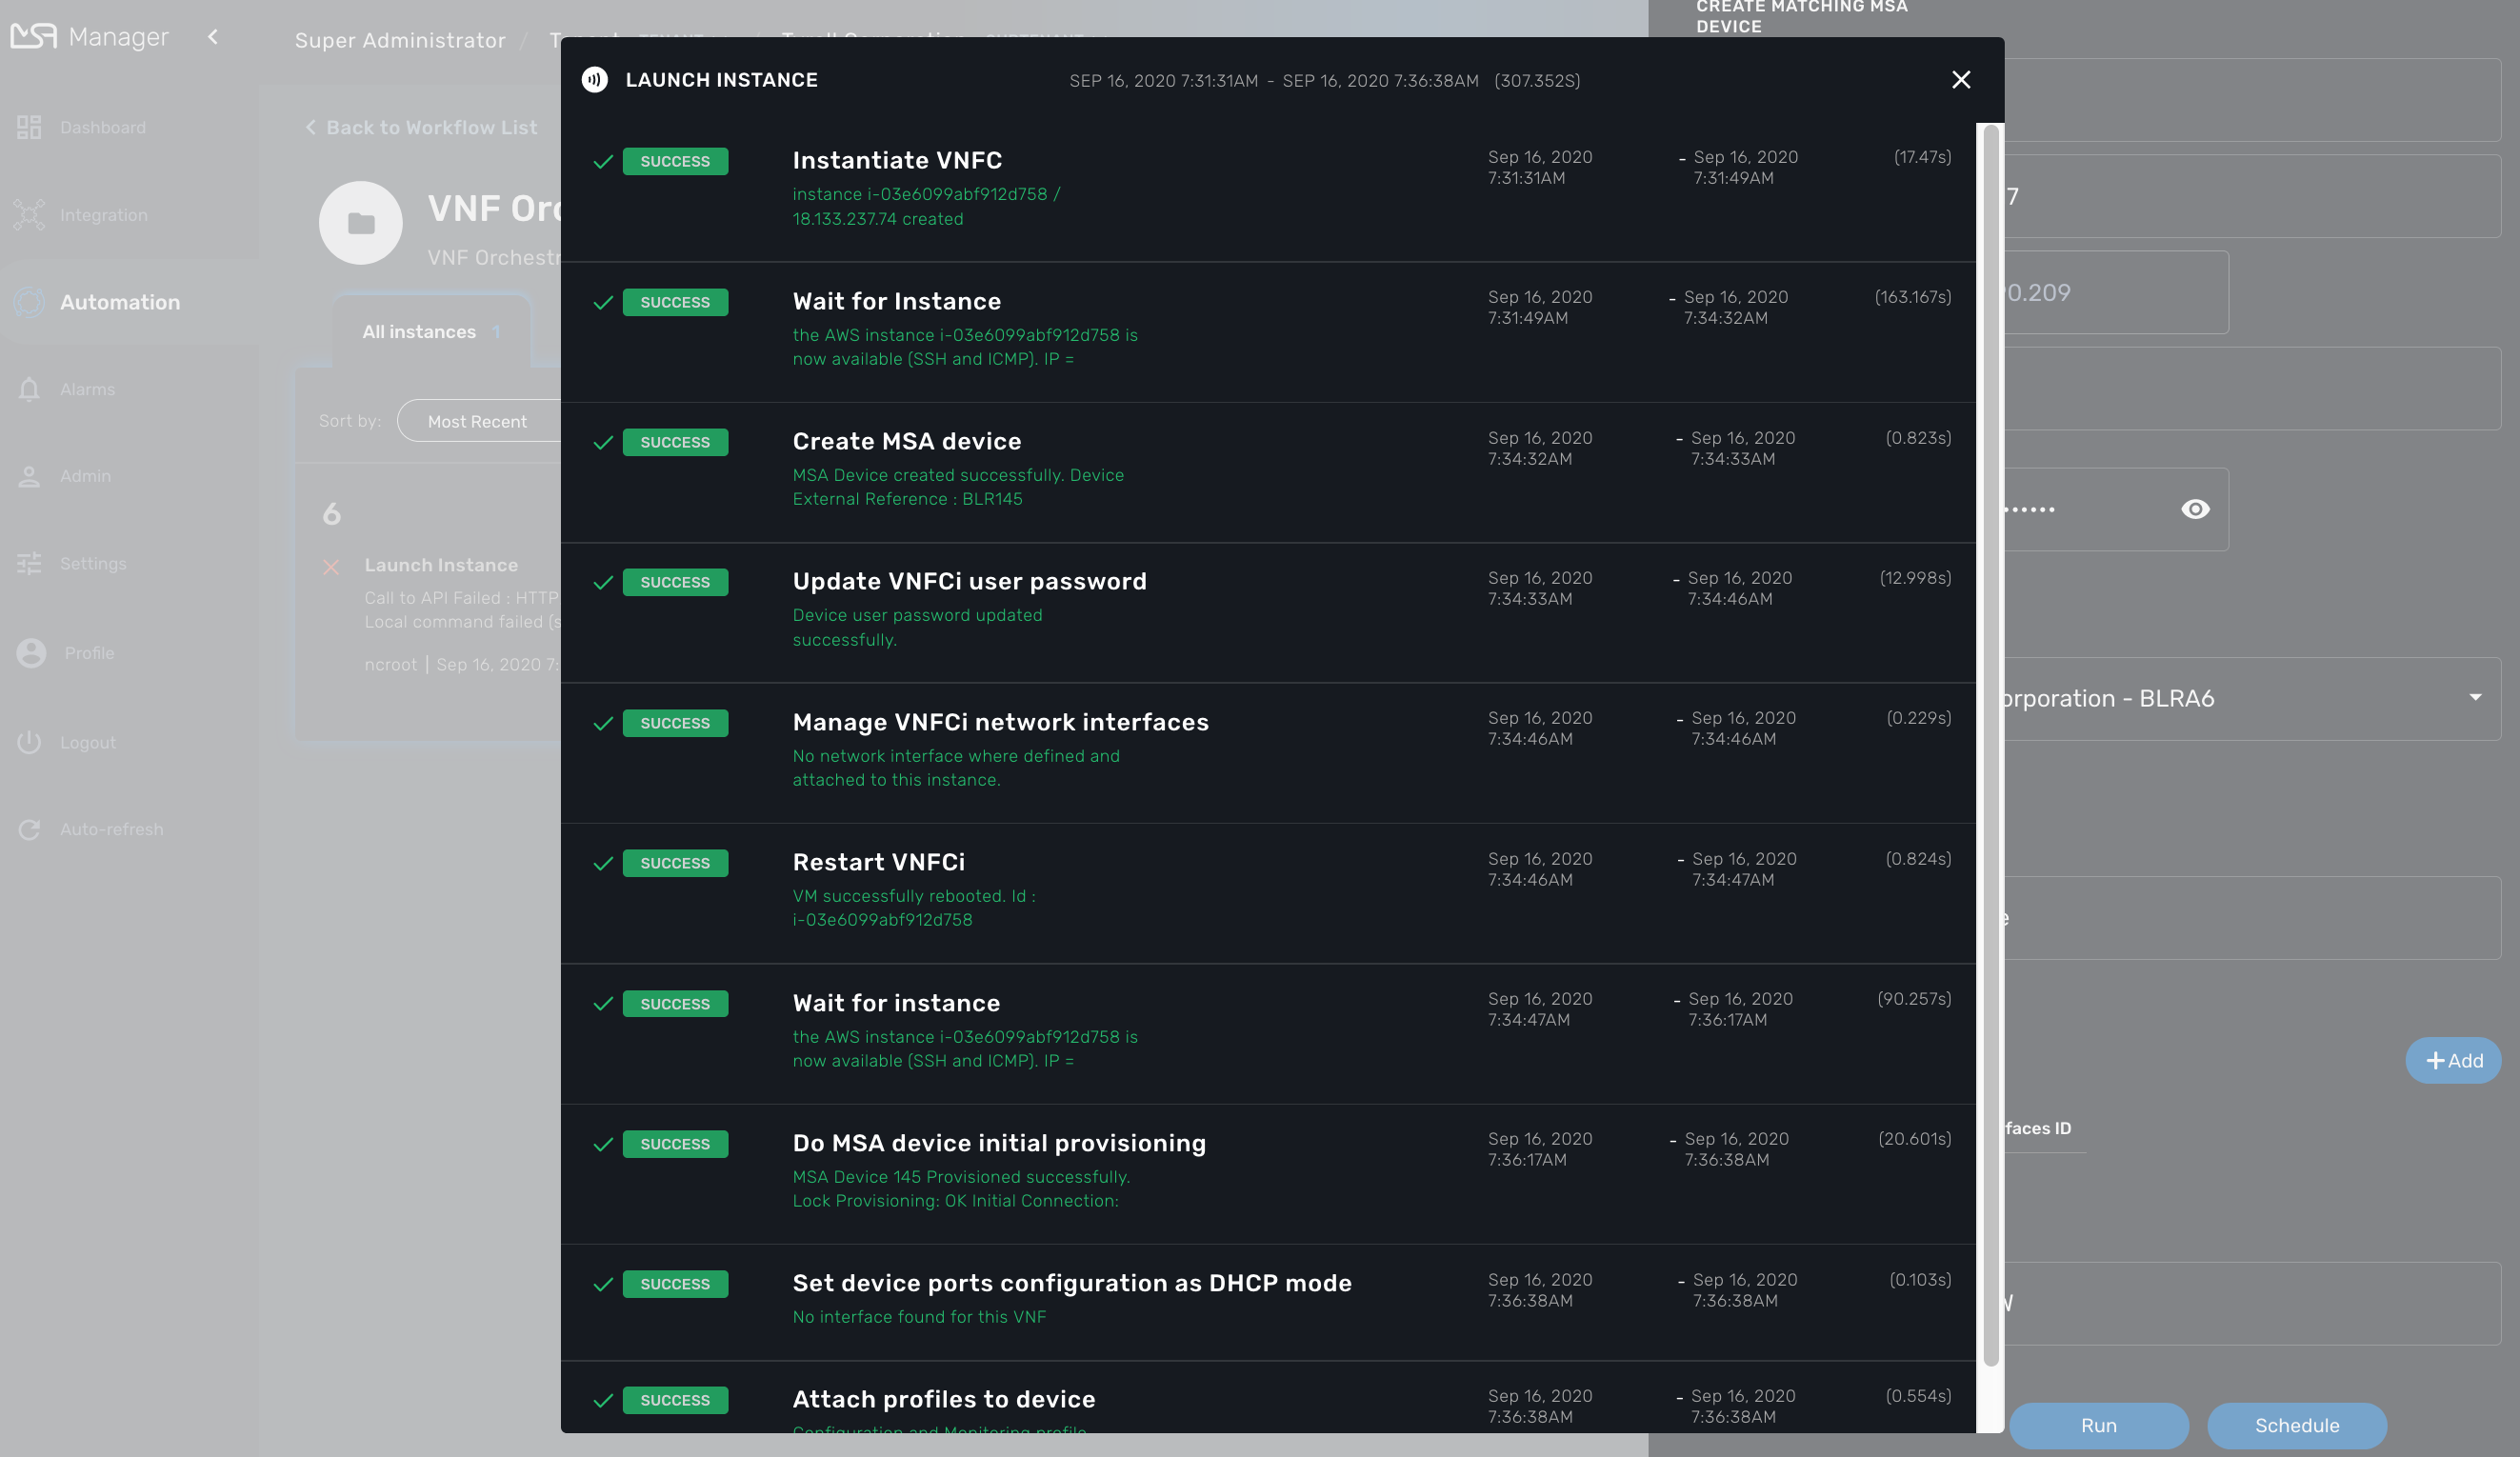
On the AWS EC2 console you can see the instance ready to be used
A new managed entity is now available in the subtenant that you selected. The name of the managed entity is set to the AWS instance ID and it’s management IP address is the one allocated by EC2.
The managed entity is also associated to the deployment setting that you created above in this documentation. This allows you to directly get started with some management on the new managed entity.
